
For successful crop management, it’s vital to use a Farm Seeder correctly, especially when it comes to seeding...
In the realm of modern farming, the seeder stands as one of the quintessential tools, a silent yet...
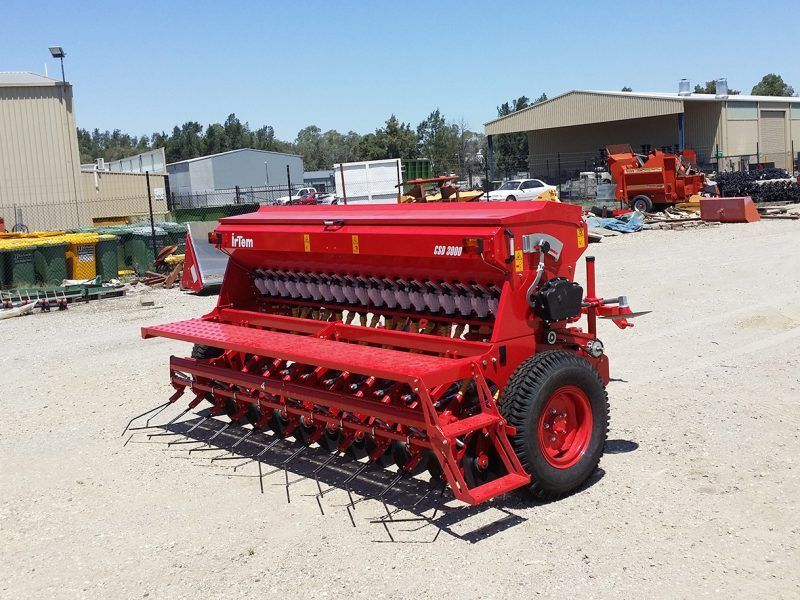
A seedbox is essential for farmers’ machines to plant their crops, ensuring excellent seed-soil contact for the best...
One invention that played a significant role in changing the agricultural industry was the Farm Seeder. This groundbreaking...
Are you a farmer looking for the best seeder for your paddock? With so many types of farm...
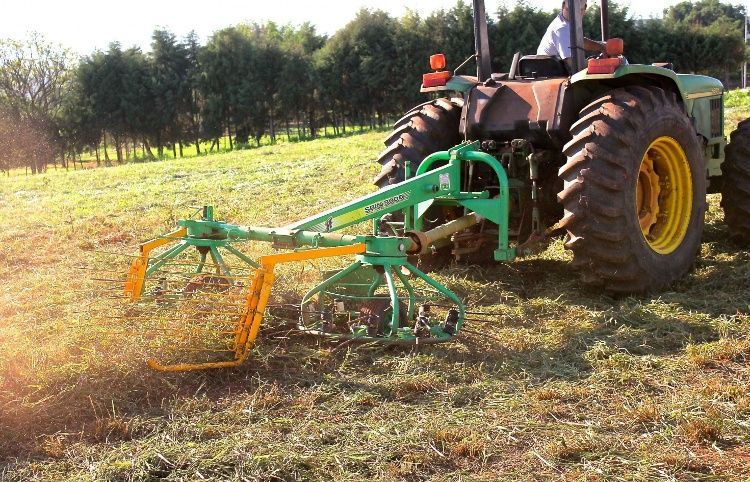
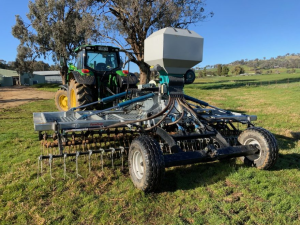
Many farmers use two different implements for tedding and raking during the hay-making and baling process. The innovative...
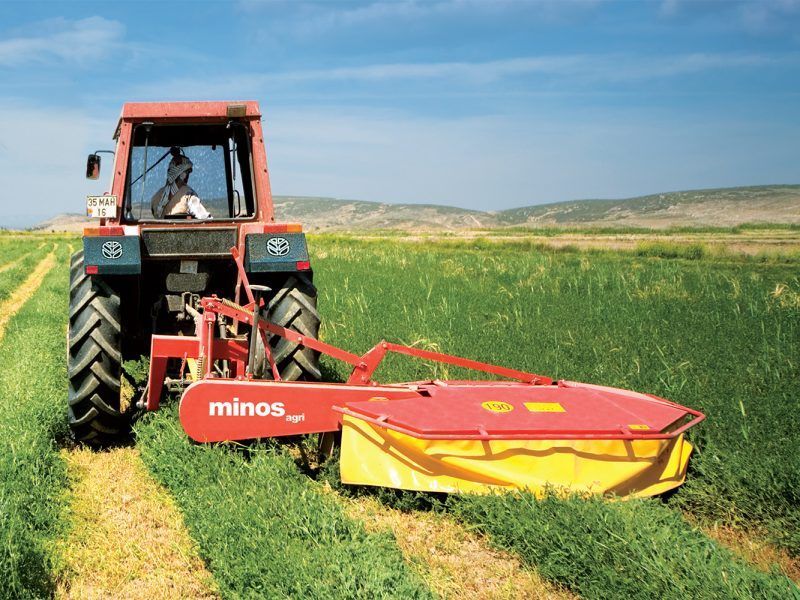
One of our greatest, most useful, and sought-after products is the Minos’ Rotary Disc Mower. This powerful machine...
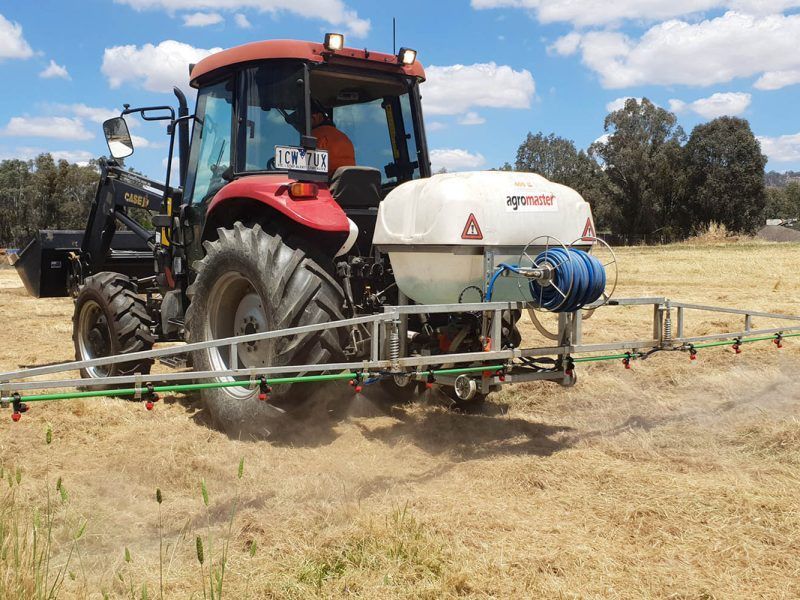
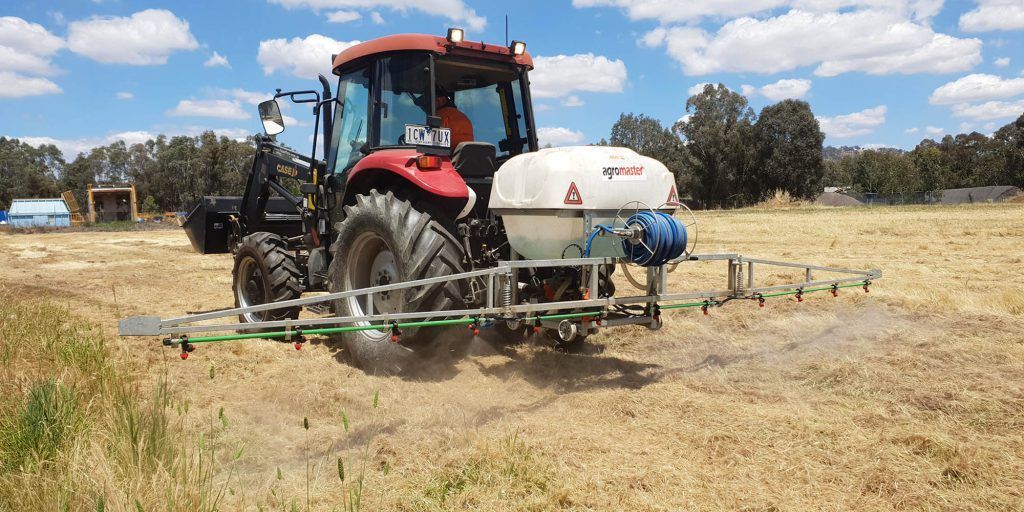
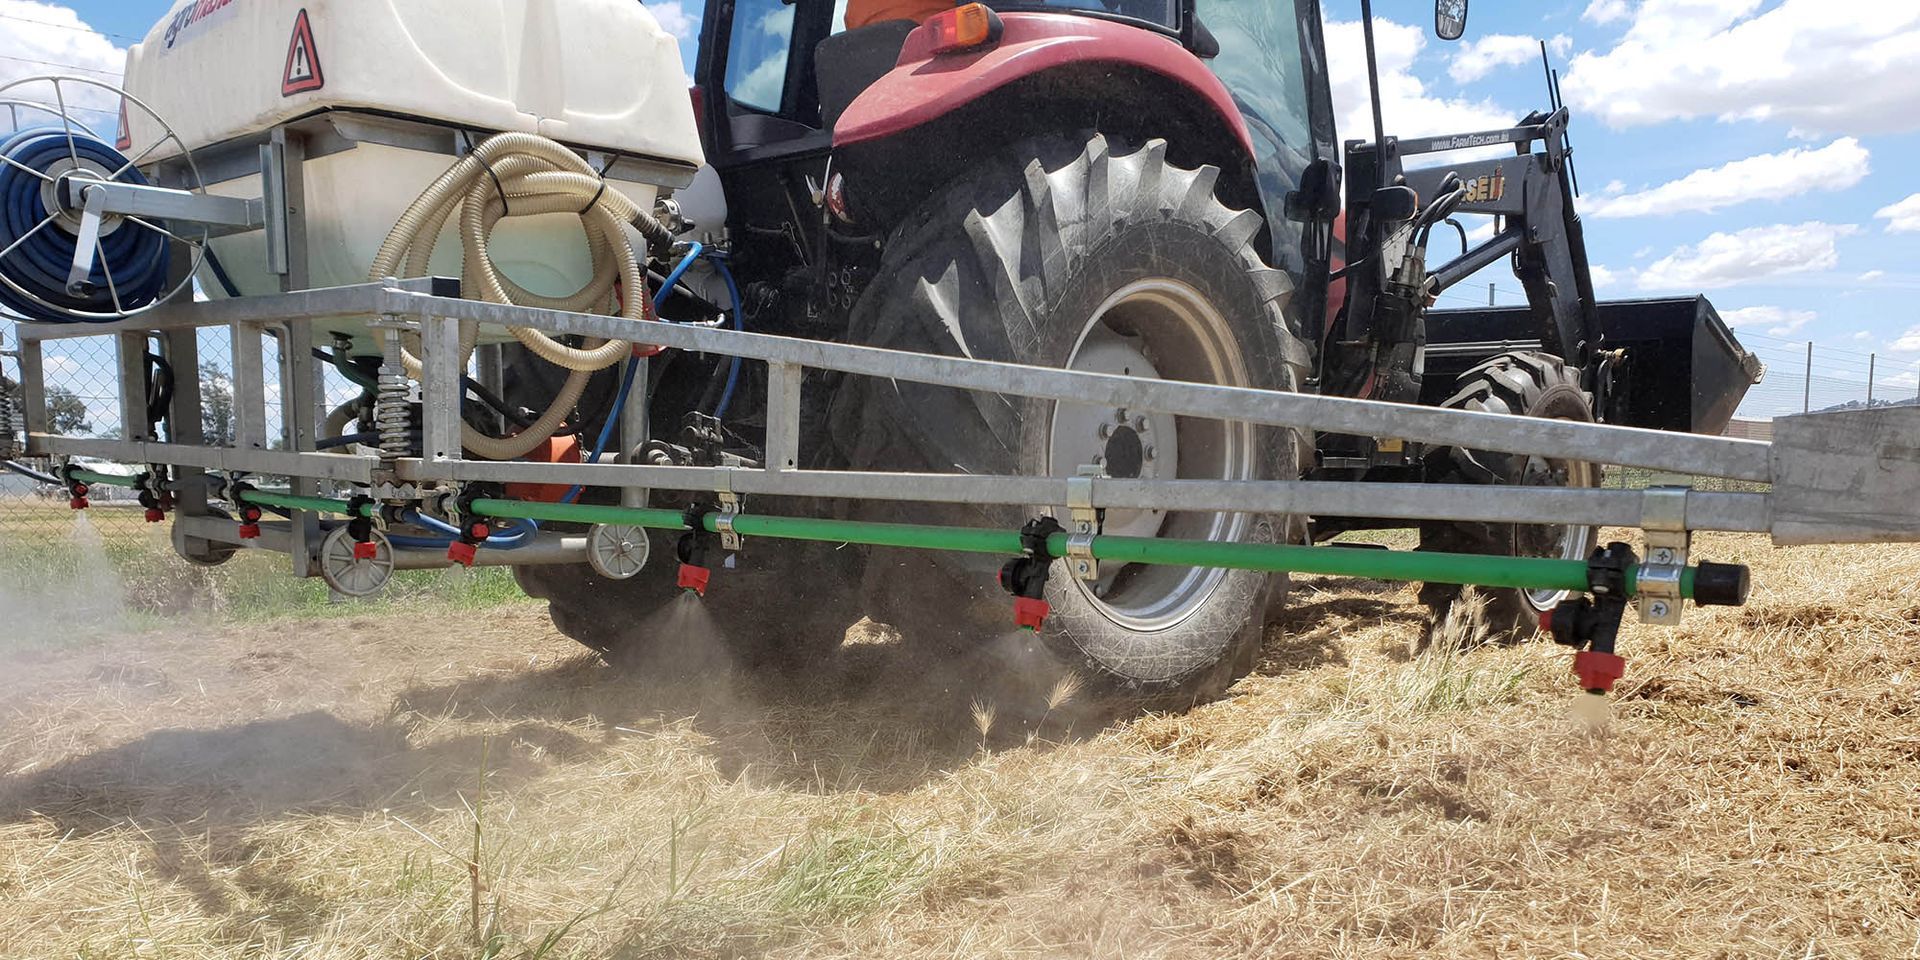
Time and quality are the two main elements that farmers across Australia must address to be competitive in...
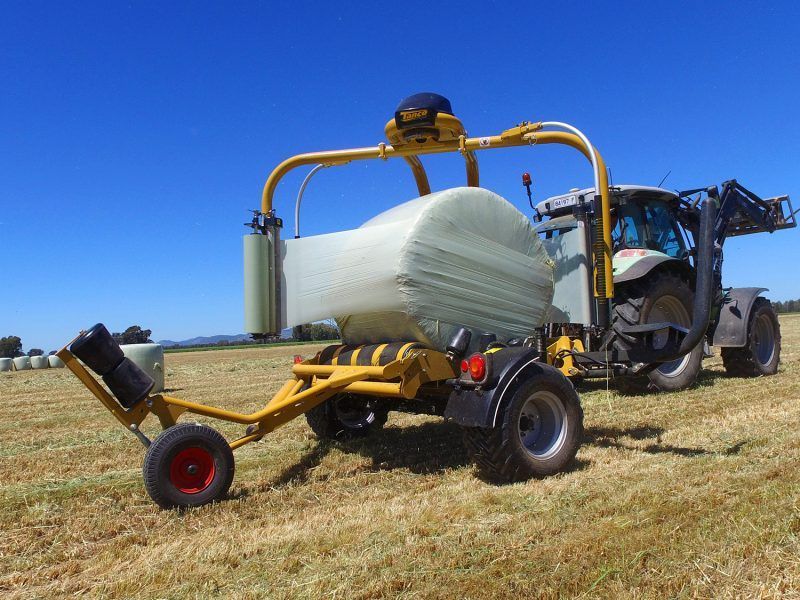
The Tanco 1400V Bale Wrapper caters to heavy-duty farmers who aim to maximise the profitability of their machines...
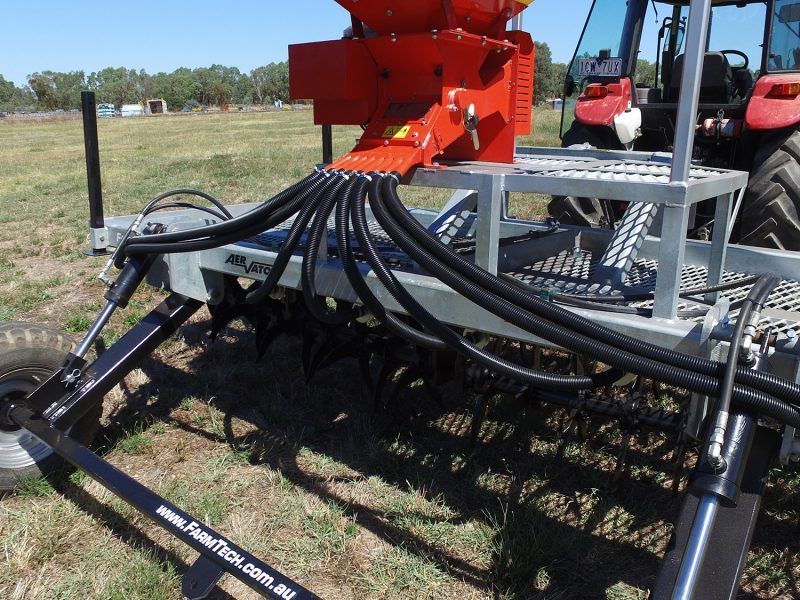
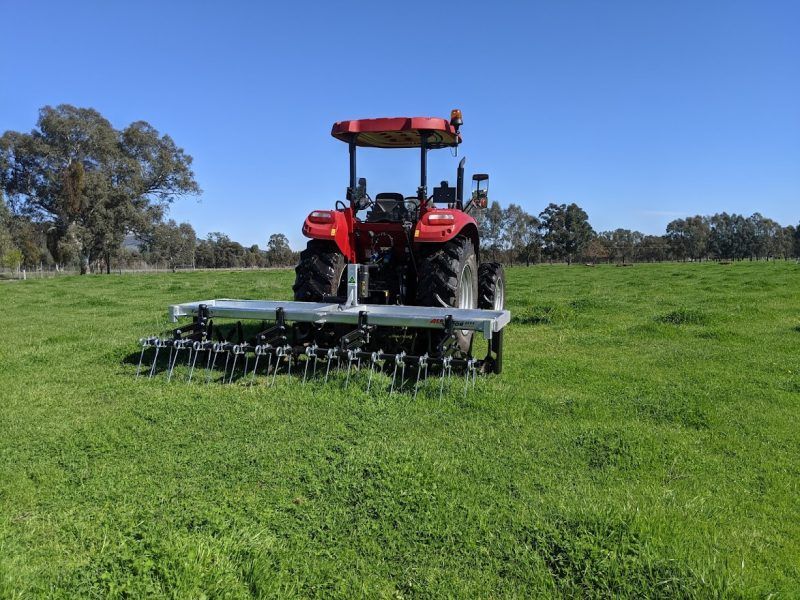
Different Aervator Models for Different Purposes Are the different Aervator Models confusing you? That’s just understandable because, as...